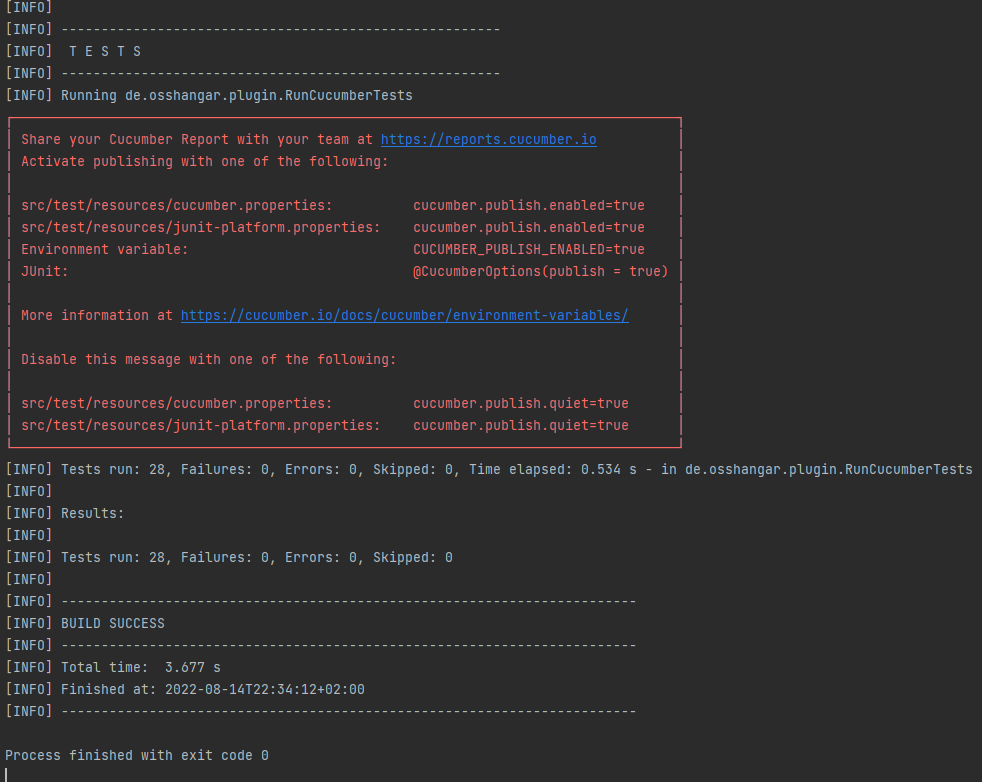
In this tutorial I will show you how to setup the Cucumber test framework to be executed when Maven is building the package.
Setup your pom.xml
First you need to add some dependencies before you can use Cucumber:
    <dependencies>
        <dependency>
            <groupId>io.cucumber</groupId>
            <artifactId>cucumber-java</artifactId>
            <version>${cucumber.version}</version>
            <scope>test</scope>
        </dependency>
        <dependency>
            <groupId>io.cucumber</groupId>
            <artifactId>cucumber-junit</artifactId>
            <version>${cucumber.version}</version>
            <scope>test</scope>
        </dependency>
        <dependency>
            <groupId>junit</groupId>
            <artifactId>junit</artifactId>
            <version>4.13.2</version>
            <scope>test</scope>
        </dependency>

        <dependency>
            <groupId>de.osshangar</groupId>
            <artifactId>test-interfaces</artifactId>
            <version>1.0</version>
            <scope>test</scope>
        </dependency>
    </dependencies>
Cucumber-java is the main package of Cucumber that contains all needed annotations. Cucumber-junit connects Cucumber with the Junit unit test framework, which is called by Maven to run the tests.
You also need to add the Maven Surefire Plugin to call the Junit runner on the test phase of the Maven build:
    <build>
        <plugins>
            <plugin>
                <groupId>org.apache.maven.plugins</groupId>
                <artifactId>maven-surefire-plugin</artifactId>
                <version>3.0.0-M7</version>
            </plugin>
        </plugins>
    </build>
Create the feature files
Now you can create the feature files. The feature files contain the scenario description and all steps that are to be done for the test and should be formulated that way, that people with no programming background can understand it:
Feature: Load valid plugin

  Rule: Valid plugin files that match the specified interfaces should be instantiated correctly

    Scenario Outline: Load valid plugin file with no arguments
      Given a loader instance for "<classname>" objects exists
      Then successfully load the plugin JAR file "<filename>" with no arguments

      Examples:
        | filename                       | classname      |
        | test-plugin-calculator-1.0.jar | api.Calculator |
Define the Cucumber steps
For Cucumber to know what to do in each step, you have to create a step definition file.
Just create a simple Java class within the src/test/java folder of your project and create a public method for each step that you annotation with one of Cucumbers Annotations (@when, @then, @and, @given or @but):
public class StepDefinitions {
    Plugin<?, ?> loader;

    @Given("a loader instance for {string} objects exists")
    public void createPluginLoaderInstance(@NonNull String classname) throws ClassNotFoundException {
        interfaceClass = Class.forName(classname);
        loader = new Plugin<>(interfaceClass);
    }

    ...
}Create the Junit runner
Now finally create the Junit runner which itself will find and run the Cucumber feature files.
For this you just have to create a Junit test within the src/test/java folder and add some Annotations to it:
@RunWith(Cucumber.class)
@CucumberOptions(features = "src/test/java/de/osshangar/plugin/features")
public class RunCucumberTests {
}
Within the @CucumberOptions tag you specify the path to your feature files. If you specify relative paths here, they need to relate to the root folder of the project. In the example code above the feature files are placed in the src/test/java/de/osshangar/plugin/features folder of the project.
